
Following Part 1, the first component to set up is AdGuard Home. I chose it because it blocks ads and unwanted services for VPN clients, gives me a usable GUI, and makes custom-domain management easier. I considered dnsmasq, but for this stack I decided to stay with AdGuard Home.
Docker Compose
The Docker Compose file and configuration of AdGuard Home is located in /containers/adguardhome base folder.
/containers/adguardhome/docker-compose.yaml
services:
  adguardhome:
    image: adguard/adguardhome:latest
    container_name: adguardhome
    restart: unless-stopped
    volumes:
      - '/containers/adguardhome/work:/opt/adguardhome/work'
      - '/containers/adguardhome/config:/opt/adguardhome/conf'
    networks:
      - webproxy
    ports:
      - '192.168.200.1:3000:30003/tcp' # initial setup port

      - '192.168.250.1:53:53/tcp' # listen for DNS on webproxy interface (tcp)
      - '192.168.250.1:53:53/udp' # listen for DNS on webproxy interface (udp)

      - '192.168.200.1:53:53/tcp' # listen for DNS on wireguard interface (tcp)
      - '192.168.200.1:53:53/udp' # listen for DNS on wireguard interface (udp)

networks:
  webproxy:
    external: true
In this setup, I have AdGuard Home listen on two interfaces:
- the Docker
webproxyinterface so Docker can route its DNS requests to this resolver - the
wireguardinterface so WireGuard clients can optionally use the same resolver
With that in place, I run docker compose up so the container can create its working directories. From a WireGuard client, I then connect to http://192.168.200.1:3000/ to finish the initial AdGuard Home setup. I change the admin web interface from 80 to 8000, keep the DNS service listening on ALL interfaces on port 53, and set a strong username and password. Continue until the dashboard launch step. Because port 8000 is not exposed yet, direct access to it will fail until Caddy is in place.
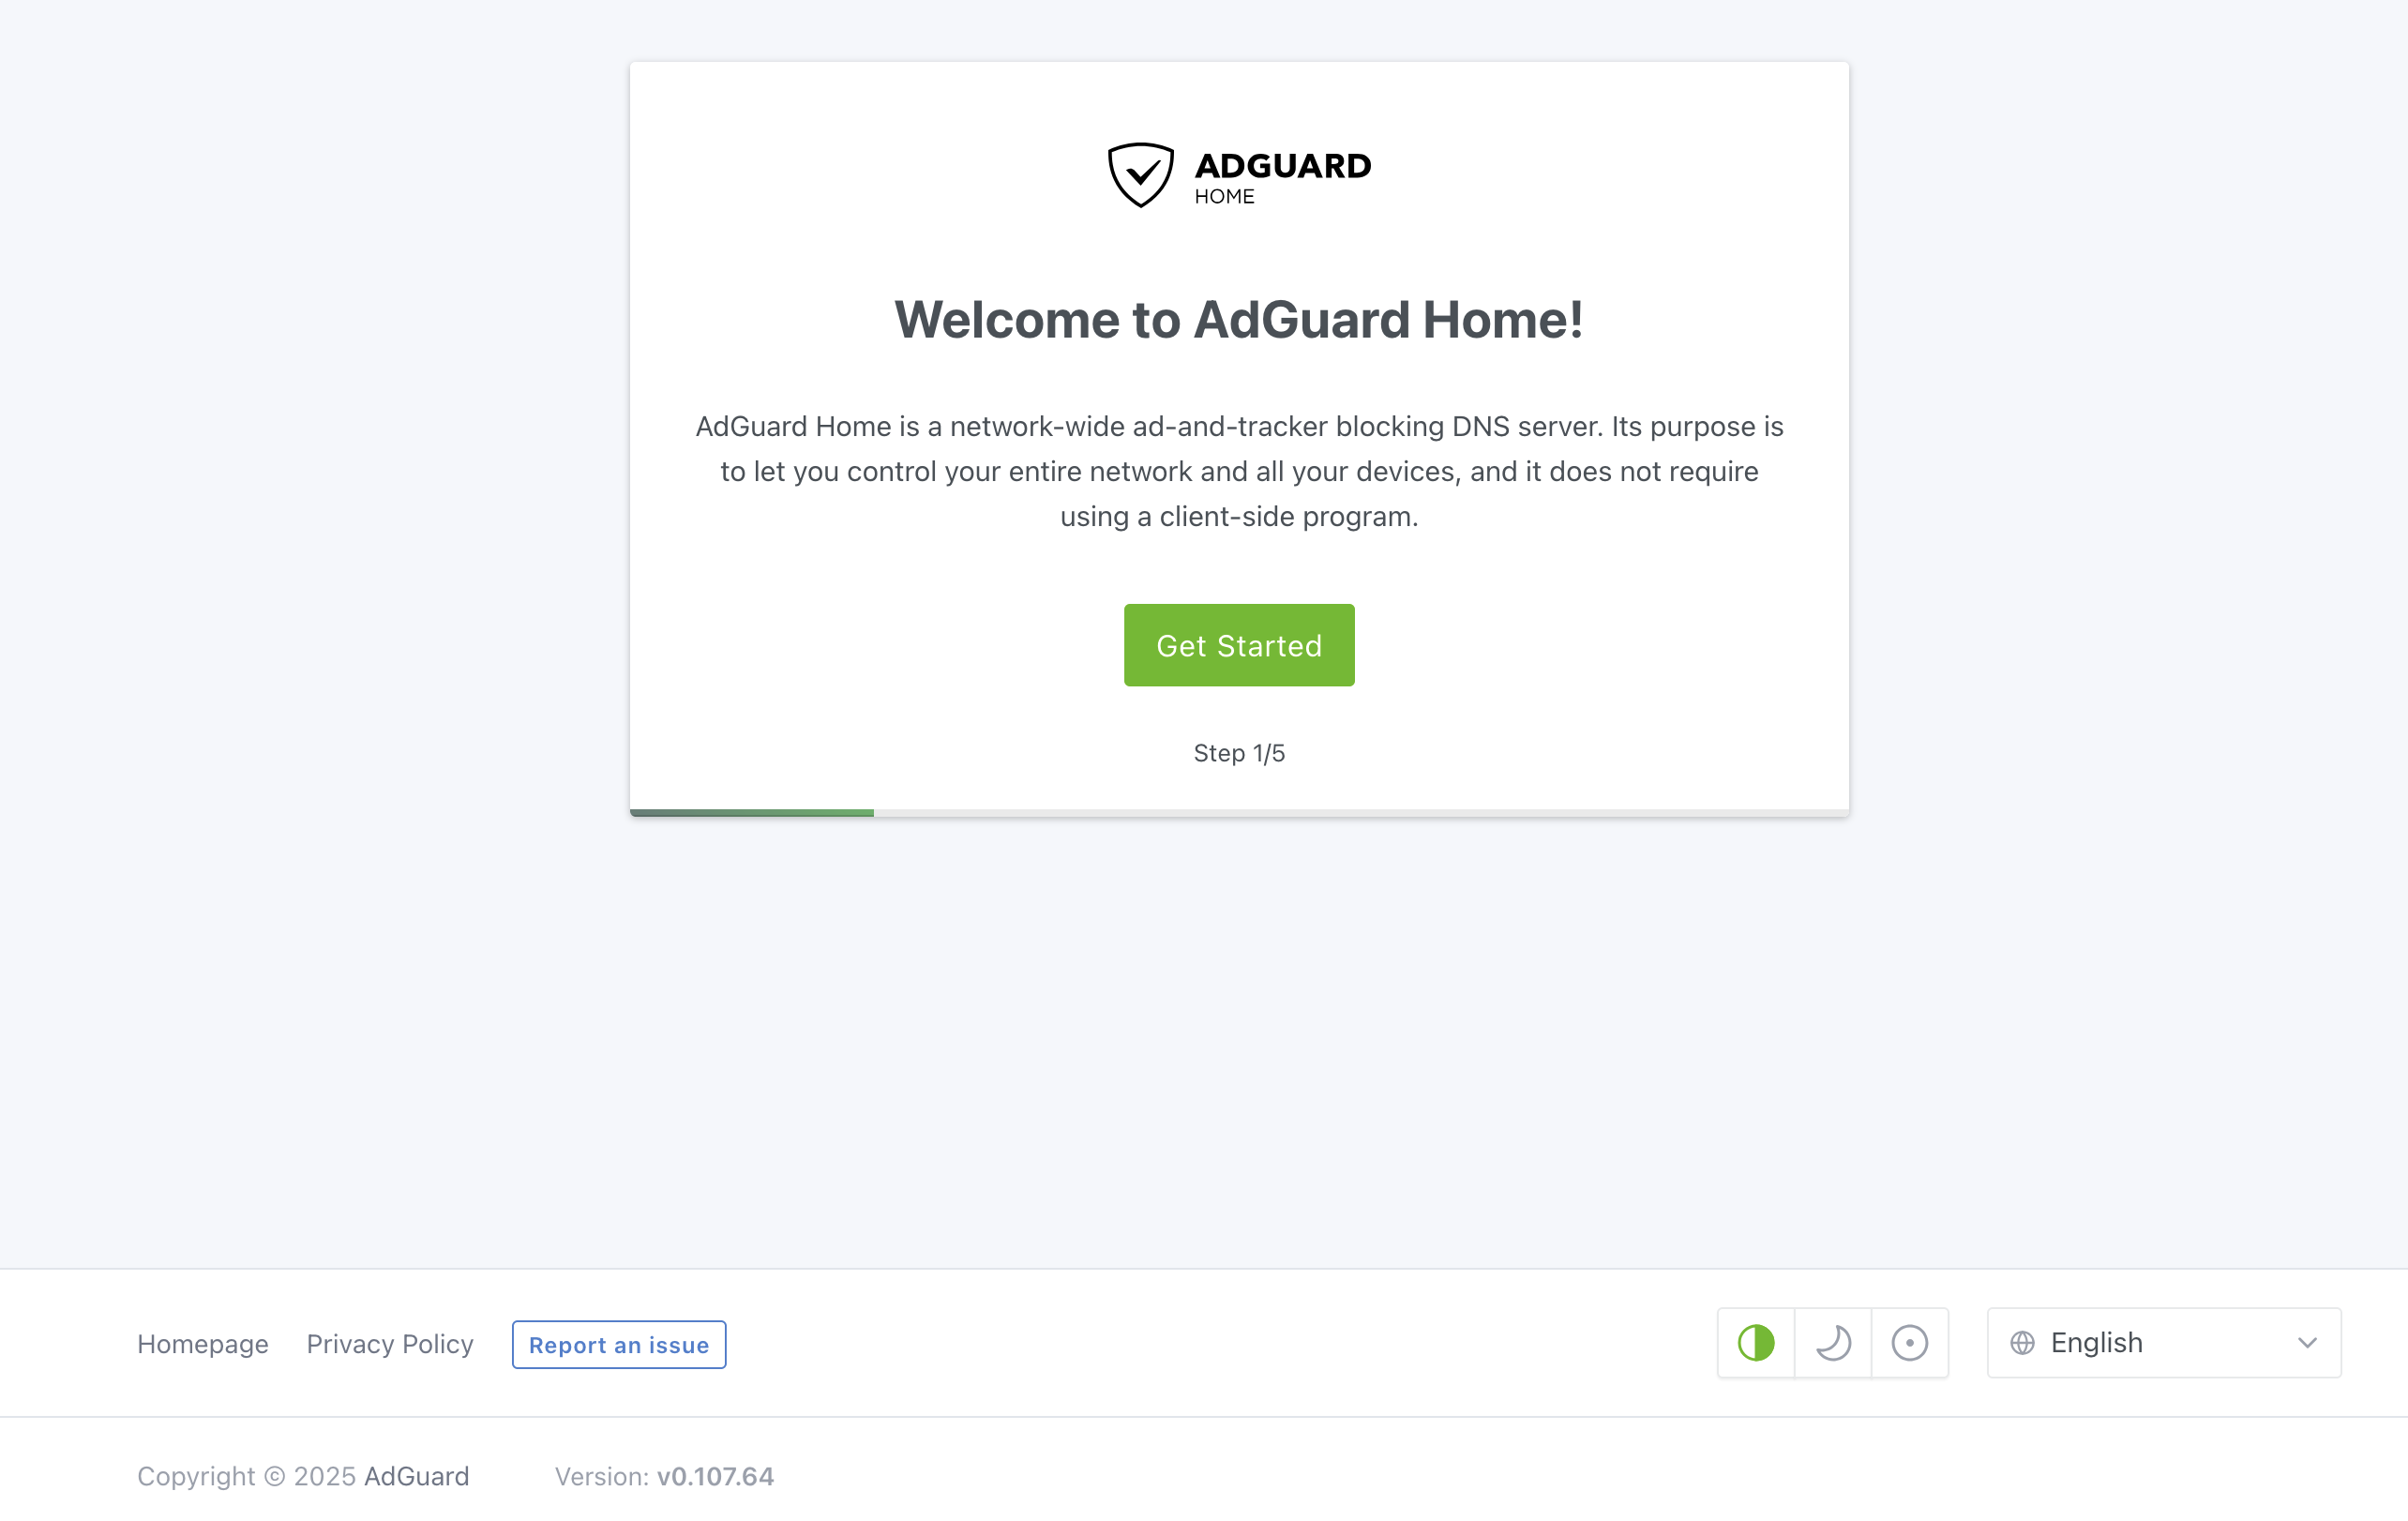
Once the setup is complete, I stop the container with CTRL+C and edit /containers/adguardhome/docker-compose.yaml again to remove 192.168.200.1:3000:30003/tcp. I no longer need that port because I will use caddy for the AdGuard Home admin UI.
I start the container again with docker compose up -d so it stays in the background.
Firewall
My VPS runs ufw as the firewall frontend so I have a rule that allows DNS traffic to traverse between the interfaces without being blocked. As the DNS server is not exposed on any of the public IP, this approach ensures there is no situation where a service or container will not be able to resolve any DNS queries
ufw allow proto udp from any to any port 53
ufw allow proto tcp from any to any port 53
The next step is to force Docker to use this DNS server for its requests. That keeps custom domain resolution consistent and returns the expected IP address for each service.
DNS for Docker
Create or edit the file /etc/docker/daemon.json and ensure a similar line to the following exists in it
{
  "dns": [
    "192.168.250.1"
  ]
}
using the IP address of the webproxy interface to force all containers to use this specific DNS instance. Make sure to restart Docker for these changes to take effect.
DNS for VPS
The last step is to force the VPS to route all DNS requests to this AdGuard Home instance. My instance uses systemd-networkd with systemd-resolved to set the IP address so I modified my existing network configuration file at /etc/systemd/network/20-wired.network with the following contents
[Match]
Name=enp1s0

[Network]
DHCP=yes
IPv6PrivacyExtensions=yes
Address=2404:1:2:3::1001/128
Address=2404:1:2:3::9999/128
DNS=192.168.250.1 # IP address of the `webproxy` interface
I prefer to reboot the VPS after these changes so I can confirm the resolver path is clean from boot. After the reboot, I verify it with dig and check the AdGuard Home logs for the query.
After this, my VPS will use AdGuard Home for all its DNS resolution. With this in place, we can move on to
Now we can proceed to Part 3 of the guide, setting up the Smallstep Certificate Authority server.